Automating Scraping Jobs
Set up scheduled scraping jobs that run automatically and keep your data fresh.
The Power of Automated Web Scraping
Manual web scraping is valuable for one-time data collection, but the real power of web scraping comes from automation. By setting up recurring scraping jobs, you can build continuously updated datasets that provide timely insights without manual intervention. This tutorial will show you how to automate your Scrapify workflows.
Prerequisites
- A working scraper or crawler set up in your Scrapify dashboard
- Basic understanding of time intervals (minutes, hours, etc.)
Why Automate Your Web Scraping?
Automation offers several key benefits:
- Always fresh data: Automatically collect the latest information at regular intervals
- Time efficiency: Eliminate manual steps and free up your time for analysis
- Consistent monitoring: Track changes in prices, availability, or other metrics over time
- Comprehensive datasets: Build historical data that reveals trends and patterns
Pro Tip
Before automating any scraper, run it manually a couple of times to ensure it works consistently. Fixing issues is much easier before you set up automation.
Step 1: Setting Up Automated Scraping
Automating a scraper or crawler in Scrapify is simple:
- Navigate to your dashboard: Find the scraper or crawler you want to automate in your dashboard
- Open the automation controls: Click on the timer icon or automation button next to your scraper/crawler
- Select an interval: Choose how frequently you want the scraper to run:
- Short intervals (1m, 5m, 15m, 30m) for time-sensitive data
- Medium intervals (1h, 2h, 4h) for regularly updated content
- Longer intervals (8h, 12h, 24h) for daily or less frequent updates
- Press Start: Click the start button to activate automated scraping
That's it! Your scraper will now run automatically at the specified interval. All execution happens in the cloud, so you don't need to keep your computer on.
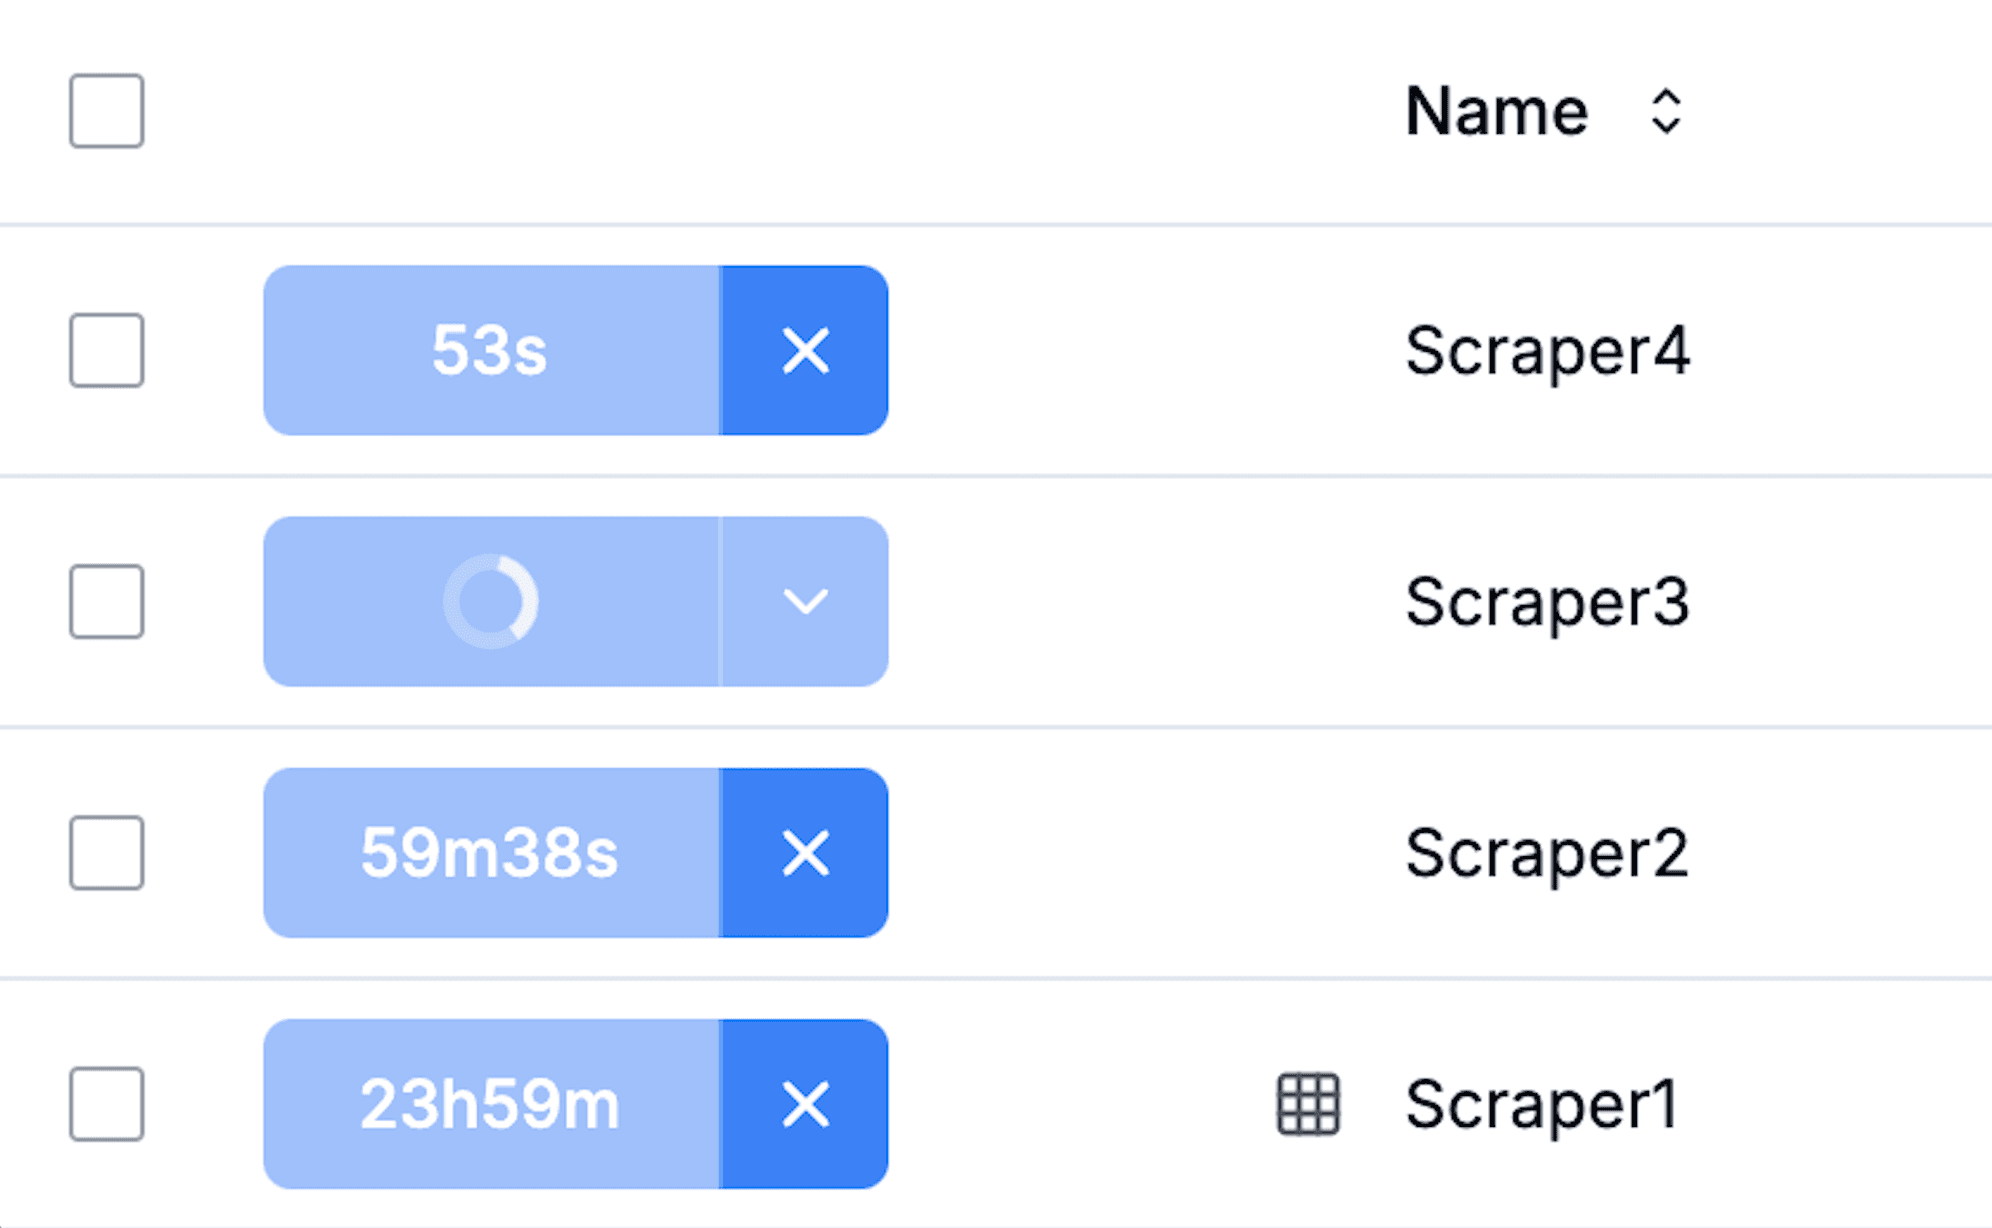
Step 2: Monitoring Your Automated Jobs
Once your automation is running:
- A progress indicator will show when the next run is scheduled
- You can view the status of all automated jobs from your dashboard
- Each completed run will automatically save its data to your account
Step 3: Working with Automated Data
All data from automated runs is automatically processed:
Automatic Exports
Scrapify automatically exports your data after each run. You can access your data in multiple formats:
- Download as CSV or JSON from the results page
- Access the structured data directly in the Scrapify interface
- View historical data collections from previous automated runs
Built-in Data Visualization
For numerical data collected over time, Scrapify automatically generates graphs:
- Time-series visualizations show how values change across runs
- Access graphs from the Analytics section of your dashboard
- Interactive graphs let you zoom into specific time periods
Important Note
Consider website traffic patterns when scheduling scraping jobs. Running during low-traffic periods is often more reliable and considerate to the website owners.
Step 4: Managing Automated Jobs
You have full control over your automated jobs:
- Pause automation: Click the pause button to temporarily stop automated runs
- Change interval: Update the frequency at any time to adjust data collection
- Stop automation: Turn off automation completely when no longer needed
Real-World Example: Price Monitoring
Let's look at a common use case for automation:
- Set up: Create a scraper that extracts product prices from an e-commerce site
- Test: Run the scraper manually to ensure it correctly captures prices
- Automate: Set up an automated schedule to run every 4 hours
- Monitor: After a few days, check the automatically generated price graphs to spot trends or discounts
- Analyze: Use the collected historical data to make informed purchasing decisions
Best Practices for Automation
- Start with longer intervals: Begin with less frequent runs (e.g., every 24 hours) and increase frequency only if needed
- Monitor performance: Regularly check that your automated scraper is collecting the expected data
- Respect websites: Maintain reasonable intervals between scrapes to avoid overloading target websites
- Check results periodically: Review your collected data to ensure quality remains consistent
Conclusion
By automating your web scraping workflows with Scrapify, you can build powerful data collection systems that deliver timely, accurate information with minimal effort. The simple setup process, cloud-based execution, and automatic data processing let you focus on using the insights rather than collecting the data.
In our final tutorial, we'll show you how to apply these automation principles to extract cryptocurrency data from Coinmarketcap.